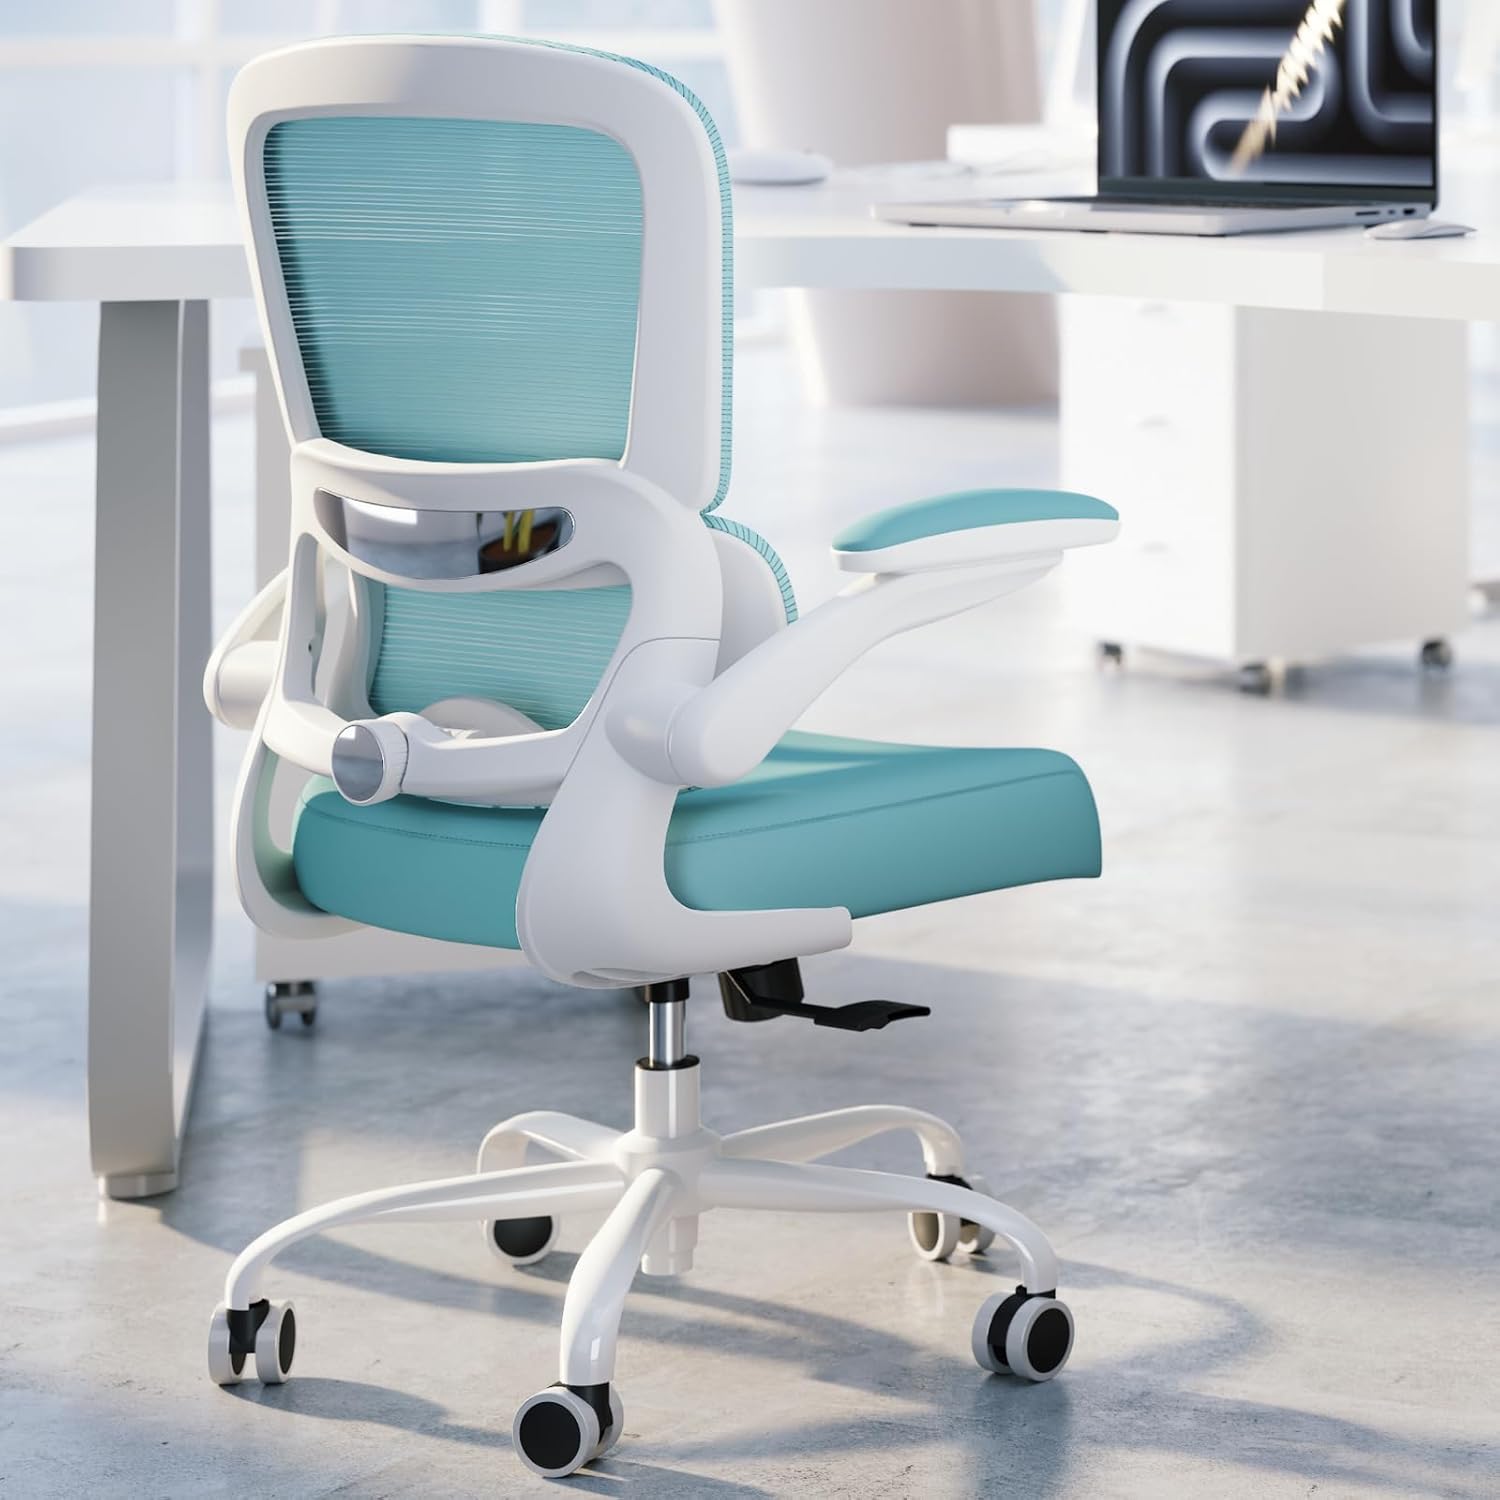
A sagging, clicking, or completely limp lumbar support can turn an otherwise comfortable chair into a backache machine. If you’re tired of pressing your lower back against a pad that no longer holds, learning how to fix office chair lumbar support is usually more straightforward than replacing the whole chair.
Most failures come down to loose tension knobs, snapped cables, worn clips, or foam that’s shifted out of place. I’ve repaired enough of these to know that a little troubleshooting with basic tools solves the majority of them in under 30 minutes.
This guide walks you through diagnosing the fault, fixing the mechanism, and adjusting the support so it actually hugs your spine again.
📌 Common Causes of Office Chair Lumbar Support Failure
Most lumbar support failures aren’t mysterious. They come down to a handful of mechanical weak points that wear out over time. I’ve opened up dozens of chair backrests, and the same culprits keep showing up.
- Loose or stripped screws on the adjustment mechanism. The knob may spin freely, or the support won’t hold its position after you set it.
- Broken or detached lumbar pad. The cushion or plastic pad can snap off its mounting clips, slide out of alignment, or hang awkwardly against your lower back.
- Worn tension springs or elastic straps inside the backrest. These lose tension over time, so the pad flops forward or sinks back instead of pressing firmly where you need it.
- Misaligned or jammed height/tension adjuster. Dirt, bent rails, or a dislodged cable can make the adjuster stick at one setting or skip ranges entirely.
- Cracked plastic housing around the lower back support. The housing flexes, making the support feel wobbly or unstable even without obvious external damage.
Spotting which one you’re dealing with usually takes less than ten minutes — no special tools needed. Start by pressing on the support and listening for rattles, clicking, or movement that shouldn’t be there.
📌 Tools and Materials You’ll Need for the Fix
You don’t need a full workshop, but a few basic tools make lumbar support repair much less frustrating. I’ve opened up dozens of office chairs, and having the right gear ready usually means the difference between a 20-minute fix and a stripped screw.
- Screwdriver set — Phillips and flathead sizes for removing the backrest cover, plastic clips, and internal spring housings.
- Allen wrenches or hex keys — most chairs use 4mm, 5mm, and 6mm metric hex hardware. A folding set covers almost all office chair bolts.
- Replacement lumbar support parts — a new foam pad, curved plastic insert, or elastic strap. Match the original width and mounting holes.
- Epoxy, super glue, or plastic weld — epoxy and plastic weld hold cracked lumbar frames; super glue works for small clips but can become brittle under flex.
- Pliers, zip ties, and upholstery tape — needle-nose pliers pull out broken springs or cables, black zip ties secure loose pads to rails, and upholstery tape stops fabric from fraying after you cut into the back panel.
- Lubricant spray — a dry silicone or PTFE spray frees jammed adjuster rails and tension knobs. Avoid oily lubricants that collect dust and worsen the jam.
Keep everything within reach before you start, and turn the chair upside down on a towel so small screws don’t roll away.
📌 Step-by-Step Repair Instructions for Office Chair Lumbar Support
Work through these steps in order. Most lumbar support fixes take 15 to 30 minutes and don’t require special mechanical skill.
- Step 1: Turn the chair over or remove the backrest. Flip the chair upside down on a towel or soft surface to avoid scratching the armrests. If your lumbar mechanism sits inside the backrest shell, use a Phillips screwdriver to remove the two to four screws holding the backrest to the seat frame. Keep the screws in a small dish.
- Step 2: Inspect the lumbar pad, screws, springs, and adjustment cable or knob. Look for cracked plastic housings, bent springs, a slack adjustment cable, or a pad that has shifted sideways. On chairs with a tension knob, slowly rotate it while watching whether the internal cable moves. Stiff or uneven movement usually points to a snagged cable or stripped gear.
- Step 3: Tighten loose hardware and replace stripped screws. Use a screwdriver or Allen key to snug every accessible screw on the lumbar bracket and backrest frame. If a screw spins without catching, remove it and test a slightly thicker replacement or add a drop of wood glue or thread locker to the hole, then reinsert.
- Step 4: Reattach a detached lumbar cushion with strong adhesive or new fasteners. Scrape off old glue residue first. For foam-backed pads, a high-strength contact adhesive like E6000 or a heavy-duty double-sided foam tape works well. Clamp or press the pad firmly for several minutes. For bolt-on pads, replace any broken plastic clips or use zip ties through the existing holes.
- Step 5: Replace worn elastic straps or tension springs to restore firmness. If the lumbar pad sags or won’t spring back, the elastic or spring is likely stretched. Measure the old strap length, then order a similar-width replacement. Hook the new spring or strap into the same anchor points. You may need needle-nose pliers for tight spring loops.
- Step 6: Reassemble the backrest and test the lower back support movement. Reattach the backrest with all screws, but don’t overtighten plastic threads. Sit in the chair and adjust the lumbar height or depth. The pad should press evenly into your lower back and return to position when you lean forward.
📌 Adjusting Lumbar Support After Repair
After you finish the repair, start by positioning the lumbar support at its lowest or most neutral setting. Sit all the way back in the chair, then raise the pad until it matches the natural inward curve of your lower back—usually just above belt-line height for most people.
- Set the height first. If the pad sits too high, it digs into your ribs. Too low, and it presses on your tailbone instead of supporting the lumbar spine.
- Adjust depth or tension in small increments. Turn the knob a few clicks at a time, or add air gradually to an inflatable bladder. You want firm contact without a hard bulge pushing directly into your spine.
- Sit and test for 10–15 minutes. Keep your normal posture and notice any pressure points or lower-back fatigue. I often tweak the height once, then fine-tune the depth, and test for another five minutes.
- Check the adjustment mechanism. Run the knob or lever through its full range after the repair. It should move smoothly and hold the position without slipping. If it clicks past where you set it, tighten the mechanism a bit more before daily use.
📌 Preventive Maintenance to Keep Lumbar Support Functional
Lumbar support fails slowly, not overnight. A little maintenance every few months keeps the mechanism from seizing, sagging, or cracking under normal use.
- Clean and lubricate moving parts every 3–6 months. Wipe dust and hair from the lumbar tension knob, ratchet teeth, and sliding rails. Use a dry cloth first, then apply a small amount of silicone spray or PTFE lubricant. Avoid oil-based sprays that attract grime.
- Check screws and bolts monthly. Tighten the fasteners on the backrest, lumbar pad, and height-adjustment track. Loose hardware lets the support twist and puts uneven stress on plastic clips.
- Avoid forceful reclining and overloading. Don’t slam your back into the chair or use it beyond its rated weight limit. Extra weight and hard impacts bend internal lumbar springs and crack the backrest housing over time.
- Replace worn foam or elastic early. If the lumbar pad feels thin, limp, or uneven, swap the foam insert or elastic straps before the frame starts rubbing directly against your spine. Catching this early usually costs under $20.
- Move the chair carefully. Lift by the seat frame, not the backrest. Tilting or dragging the chair by the lumbar area can crack the outer housing and misalign the internal mechanism.
These small habits don’t take much time, but they extend the life of the lumbar support and prevent the exact failures that require full disassembly later.
📌 When to Replace Instead of Repairing Lumbar Support
Not every lumbar problem is worth fixing. Here are the signs that replacement is the better call.
- Extensive cracks in the chair back frame or lumbar housing. Hairline cracks can be reinforced, but cracks that split through structural plastic or metal will keep spreading. The lumbar pad loses its stable anchor and can press into your back unevenly.
- Replacement parts unavailable or cost exceeds a new ergonomic chair. Many budget chairs don’t sell lumbar assemblies separately. If a replacement bracket, spring, or housing runs $70–$100 plus shipping, that’s often more than half the price of a decent new chair with adjustable lumbar.
- Lumbar support no longer stays in place after multiple repairs. If you’ve already tightened bolts, replaced springs, or added washers and it still slides down or pops out, the mounting points are probably stripped or warped. More fixes won’t hold.
- Chair base, gas lift, or backrest mount also damaged. A broken lumbar mechanism alongside a wobbly base or failing lift means several systems are worn. Replacing just the lumbar support leaves you with an unstable chair, and parts add up fast.
In those cases, a new chair with a warranty usually beats another round of repairs.
🔑 FAQ: How to Fix Office Chair Lumbar Support
Can I fix a lumbar support that won’t stay up?
Yes, in most cases. Height-adjustable lumbar supports use a friction lock or ratchet strip. Tighten the tension knob, clean the track, or replace the worn plastic clip. If the ratchet teeth are stripped, a small zip tie around the post can hold it temporarily.
What if my office chair lumbar support is non-adjustable but broken?
Non-adjustable supports are often glued, stapled, or riveted into the backrest. You can re-secure a loose panel with construction adhesive or zip ties. If the foam has flattened, the support won’t help much — replace the foam insert or add an aftermarket cushion.
How do I remove the backrest to access the lumbar mechanism?
Flip the chair over and remove the screws holding the backrest to the seat plate. Many chairs also have plastic clips or a zipper at the bottom edge of the fabric. Release those, then slide the back panel upward or downward to expose the lumbar assembly.
Is it worth replacing the lumbar support cushion or the whole chair?
If the frame and gas cylinder are still solid, repairing or replacing just the cushion makes sense. But if you’re also dealing with a sagging seat, leaning cylinder, or cracked back frame, a replacement chair often costs less than fixing three separate problems.
Can I add aftermarket lumbar support if the built-in one can’t be fixed?
Absolutely. Strap-on mesh back supports, memory foam cushions, and inflatable lumbar pillows all work. They typically cost $15–$50 and can be moved between chairs, which is handy if you’re not ready to replace the chair.
How much does it cost to repair office chair lumbar support?
DIY fixes range from $0–$30 for adhesive, zip ties, or replacement clips. Aftermarket supports run $15–$60. A professional upholstery repair might be $50–$150, while a decent ergonomic chair starts around $150–$300.
7 thoughts on “How to Fix Office Chair Lumbar Support: A Step-by-Step 2026 Repair Guide”